

Creating a unique brand identity helps your business or project stand out. This guide takes you through each step as you design your own graphics and branding materials. You may have little experience. Pick your digital tools and start now!
Ingredients Needed:
- Digital Design Software: Canva, Adobe Spark, or GIMP (free options exist)
- Notebook and Pen: Use them as you note ideas and sketches
- A Computer or Tablet: It works best when it has internet
- Color Palette Generator: Visit websites like Coolors.co
- Typography Resources: Find fonts on Google Fonts or Adobe Fonts
- Inspiration Sources: Look at websites like Pinterest or Behance
Instructions:
Step 1: Define Your Brand Vision
- Write your mission statement to show what your business stands for and what you plan to achieve.
- Identify your target audience by listing their age, interests, and spending habits.
- Check competitors by looking at what similar brands do and note the parts you like and the parts you do not.
Step 2: Develop Your Brand Personality
- Pick three words that describe your brand’s tone. Choose adjectives such as modern, friendly, or refined.
- Build a mood board by collecting images, colors, and styles that match your vision. Use online boards like Pinterest or a simple paper board.
Step 3: Choose Your Color Palette
- Go to a color palette generator like Coolors.co or Adobe Color and set up a color scheme with 3-5 colors. Let these colors reflect your brand’s feel.
- Place your colors together on a test design. Check that the colors fit well and give the right feeling.
Step 4: Select Your Typography
- Visit typography websites such as Google Fonts or Adobe Fonts. Choose 2-3 typefaces—one for headlines, one for body text, and a third if you need extra flair.
- See that your typefaces stay clear and easy to read, online and in printed work.
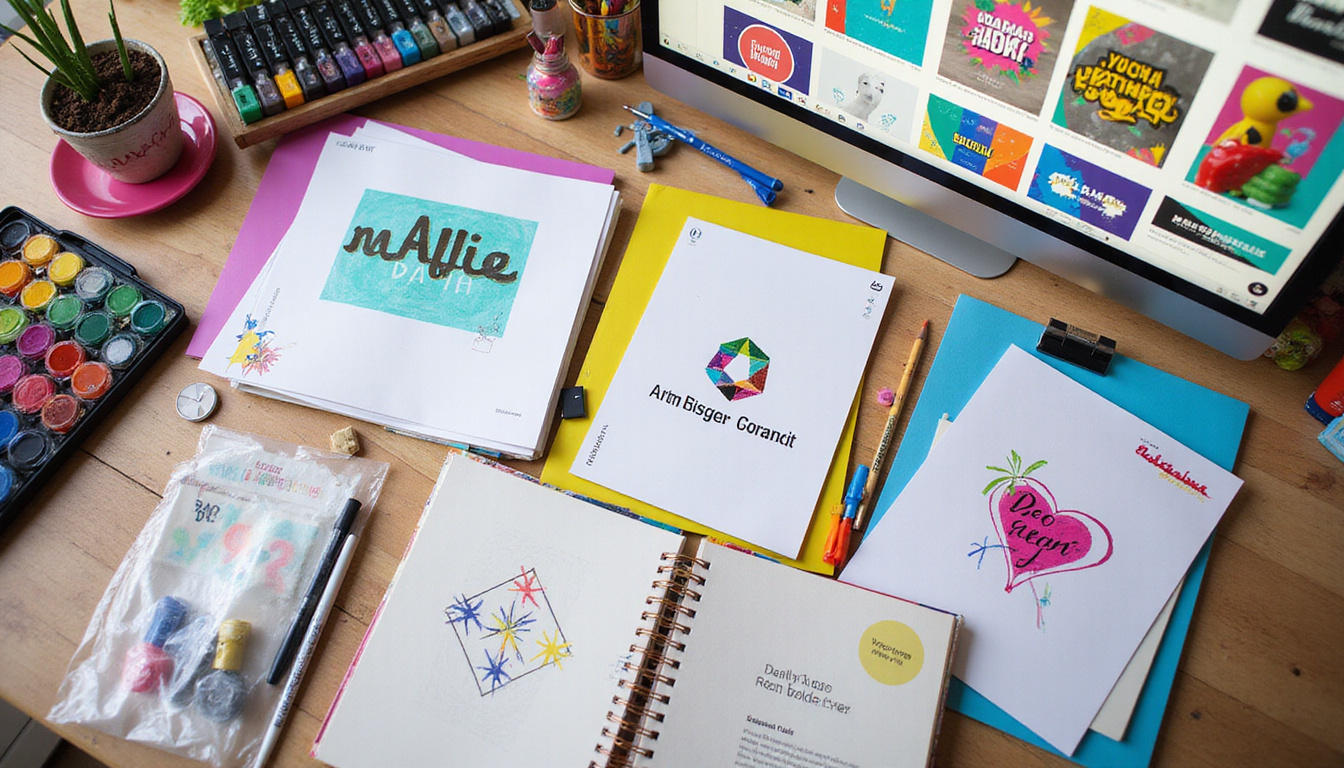
Step 5: Design Your Logo
- Sketch ideas with your notebook. Let your pen decide on shapes or icons that show who you are.
- Open your design software like Canva or Adobe Spark and build your logo. Use a simple template if you must.
- Make several drafts. Ask friends or potential customers for quick feedback, then rework your design as needed.
Step 6: Create Branding Materials
- Make business cards that use your logo, colors, and fonts. Keep the design simple and neat.
- Build social media graphics. Create cover photos, posts, and promo images that match your brand.
- Set up a website header. Use your logo, colors, and typefaces to form a matching look for your website.
Step 7: Gather Feedback
- Show your designs to friends, family, or small groups.
- Ask for useful notes about your design. Find out if your brand feels clear and if people grasp its look.
Step 8: Finalize and Implement
- Fix your designs using the feedback you get.
- Save your logo and graphics in several formats (PNG, JPG, SVG) so they work on different platforms.
- Put your branding to work on business cards, your website, social media, and products.
Tips:
- Keep your design the same. Use the same colors, fonts, and style everywhere.
- Take time on every step. A well-thought-out brand shows who you are.
- Change when needed. Your brand grows with you, so update it as you move forward.
Congratulations! You made your brand identity from scratch. Your brand shows who you are—make each design count.


Leave a Reply